This topic shows you how to transfer
the project to a remote device after having configured the Deploy Server
as described in the previous topics.
- check the project type and
toolbox objects used on screens.
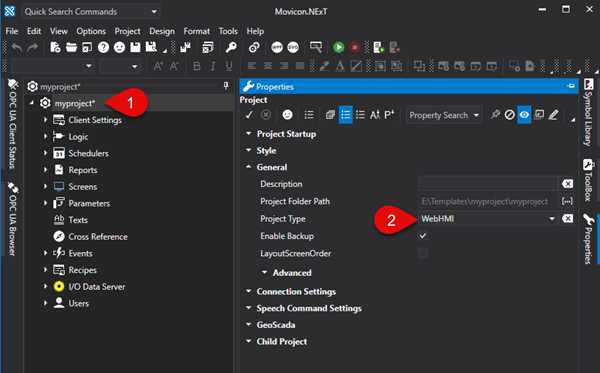
Property:
Project Type
The "Project Type"
property is one of the project properties that is used to set the project
as a "WebHMI" type.
When setting the project as "WebHMI",
the Project Explorer, Toolbox and Animation Explorer and Command windows
will only show the resources, animation objects and commands that are
supported while visualizing and using Web Client WebHMI.
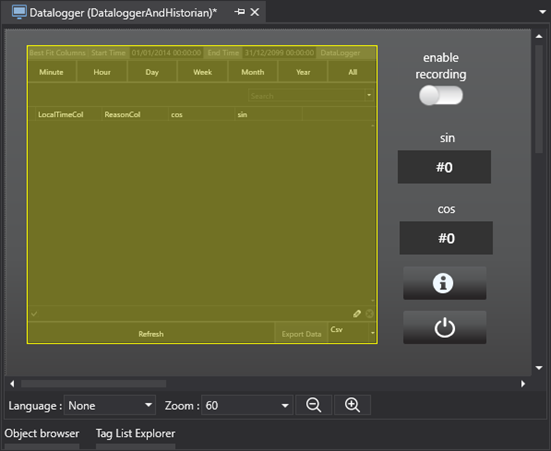
This property setting is particularly
useful when:
planning
to develop a project that includes only those functions supported
by WebHMI,
needing
to verify the compatibility of a previously developed project with
WebHMI visualization. Any objects and symbols used in the project
and not supported by WebHMI will be highlighted as shown in the screenshot
below.
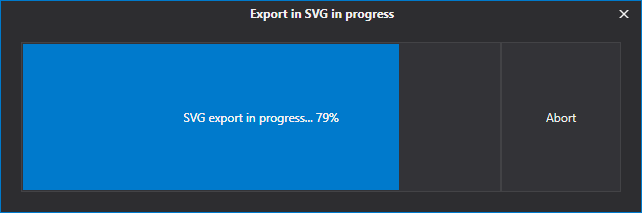
Project Conversion
To deploy a project in remote
HMI, simply select the command from the Options > Create WebClient
(SVG/HTML5) menu or select Create WebClient (SVG/HTML5) from the project's
toolbar that starts the project's export to SVG:
Once the export process has terminated,
you will be prompted to confirm whether or not to deploy and run the Web
Server and Project on remote HMI as shown below:
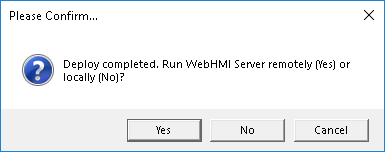
Selecting "Yes", a
Deploy Project window will open as indicated in the next paragraph.
The Deploy
Project Window and Remote HMI Control
The Deploy Project window allows
you to deploy the project on the HMI along with the I/O Data Server and
Web Server which are needed to run the WebHMI locally on the HMI.
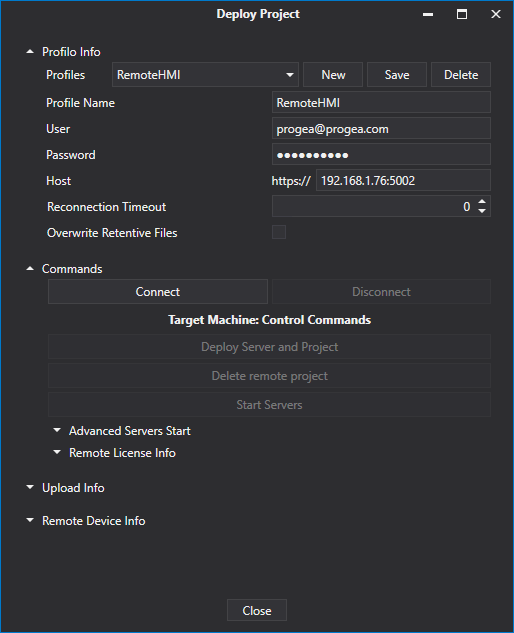
Profile
Info
This section allows you to define
different connection profiles, such as for Deploy Servers of different
devices for instance.

where:
Profile name: the profile name which
is an unique identifier used by the developer to distinguish the various
profiles.
User: user name with which to connect
to the target HMI's Deploy Server.
Password: password to use for connecting
to the target HMI's Deploy Server.
Host: HMI's IP address or host name,
including the Deploy Server port (E.g: 192.168.0.74:5002)
Overwrite Retentive Files: retentive
data in the device will be overwritten with those in the project during
the project deployment phase. The retentive files are located
in the project folders:
...\UFUAServer\Alarms
...\UFUAServer\Tags
...\UFUAServer\EventLog
...\UFUAServer\Historian
...\UFUAServer\DataLogger
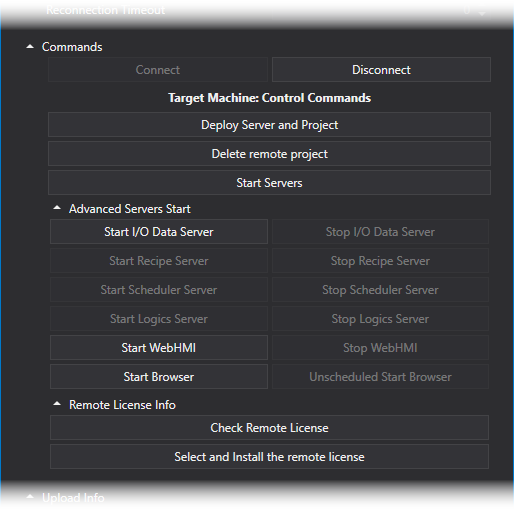
Commands:
This section is used to manage
the connection to the Deploy Server, as well as control the Runtime components
and manage the license on the remote device.
where:
Connect/Disconnect: This allows
you to connect/disconnect from the HMI's Deploy Server. While connecting
to the target machine, the client will check and verify whether there
are any processes started up belonging to project other than the current
one and, in if so, the user will be asked, by means of a popup window
as shown below, whether they should be replaced. If user confirms
this, all the pre-existing processes in the device of the different
projects will be aborted. Otherwise, they will remain unchanged.
Deploy Project and Server: deploys
the Project, I/O Data Server and WebHMI's Web Server on the
target HMI.
Cancel Remote Project: this cancels
the project on the target HMI.
Server Startup: Starts all the services
on the target HMI.
Advanced Server Startup: allows
the execution of each Runtime component to be started up or stopped.
Remote
License Info > Check Remote License:
displays the remote HMI's active license options and Site Code
Remote
License Info > Install Remote
License: this allows the software license to be installed on
the remote HMI.

|
When
first connecting to the Target HMI and after the Self Signed certificate
has been accepted, you will be asked to download the I/O Data
Server, the WebHMI's Web Server and the project. If they
are already present on the HMI, you will be asked if you wish
to update them.
|
Upload
Info:
This section reports the progress
of the transfer in progress.

Remote
Device Info:
This shows information on the
remote device's processes and operating system.

where:
Scheduled
Processes: shows the process running on the remote HMI and
CPU and RAM usage.
Process
Output: reports the actual Syslog file contents on the remote
device.
OS
Description: shows the versions of the installed Runtime components
and information on the HMI's operating system.

